These are one my favorites to make all year long,
I never get tired of making them,
eating them, sharing them or did I say…eat them?
I love, love, love them!
so do my boys and anyone else who gets to eat them.
At Christmas when I need a gift or treat quickly, these are it. I’m talking 20 minutes from start to finish. You can eat them warm, but usually I make my kids wait. I’ve tried it with other chocolates, but I always go back to the milk chocolate. I’ve been making these bars for as long as I can remember. We use to get a similar bar at school, called Snoopy Bars, but the texture was slightly different. These are very similar to Rice Crispy treats, same concept but they taste so much better. If you’re a chocolate peanut butter kind of person, these are for you!
Enjoy!

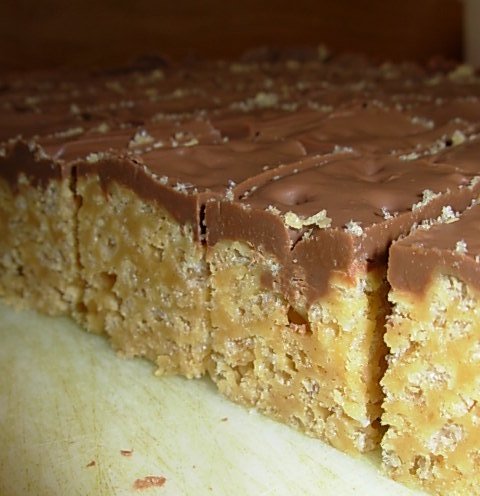
Snoopy Peanut Butter Rice Krispie’s Bars
1 Cup White Sugar
1 Cup Light Corn Syrup (I prefer Karo)
1 ½ Cup Peanut Butter (I prefer Jif Creamy Peanut Butter)
6 Cups Kellogg’s Rice Krispie’s
1 Package of 11.5 oz Milk Chocolate Chips (I prefer Ghirardelli)

Put sugar and light corn syrup in a large sauce pan, bring to a boil stirring constantly being careful not to burn. Once mixture reaches a boil remove from heat.

Add 1 ½ C. Peanut butter stir until melted.


Add 6 cups of Rice Krispie’s.
Mix together until all cereal is completely coated.


Pour into a 13 x 9 x 2-inch cake pan
coated with Pam cooking spray.

Press mixture down evenly in pan.

Sprinkle Chocolate Chips on top.


Put pan in oven at 275 degrees until chips soften, about 5-7 minutes. Quickly remove from oven, spread chocolate evenly around bar.

Let cool and cut in squares.

I like to use a butter knife to loosen up the edges,
and then I pop the completely cooled bars out onto a cutting board.

I then flip the bar and cut into small bite sized squares. You can cut into larger bars, but these little gems are very rich so a little goes a long way.

The knife shown in the picture was actually used to cut our frozen Cheese cake. You can get it at any knife store, or order it on line. It’s called a Wusthof Gourmet 12” Cheese Knife, Doubled Handle. By Wüsthof It works perfectly for cutting bars, frozen cakes, or anything you want a nice even straight line, plus it is so much easier to cut with being able to apply pressure evenly from both handles.


I prefer small 1 inch squares;
they are easy to eat, share, and are the perfect nibbler size.
These are one of the easiest treats to make & send
to your loved ones, normally
they won’t break up during travel
to your desired destination,
I've sent these to friends serving over seas
and to my boys for their birthdays.
to your loved ones, normally
they won’t break up during travel
to your desired destination,
I've sent these to friends serving over seas
and to my boys for their birthdays.
It's one of my favorites to mail.

You do have to make sure that if you’re mailing in extreme heat, that you use waxed paper or parchment in between your layers, and freeze before you mail to set the chocolate completely. The tighter you package the bars, the better they’ll travel.


I like to make several pans at Christmas,
everyone loves them,
they make the perfect gift, brunch compliment, or after school snack.
My boys love these bars!
ENJOY!
Yum! I'm gonna have to try these!! :)
ReplyDeleteThey are so good...Enjoy!
ReplyDeleteThese look delicious!!! I can hardly wait to try them....thanks so much for the step-by-step recipe!
ReplyDeleteBtw, thanks so much for your lovely comment. I'm over the moon to hear you are having so much fun over in Tam's Art, Heart and Healing class. I haven't posted much in class because life has been so busy of late but I hope to catch up and post more soon.
Have a beautiful day!
Love, light and peace,
Serena :)